|
|
........ SMOOTH ON ALL SIX |
_______________________________________________________________________________________________
Winter 2008-09
This year the major issue will be to fit some Mazda MX-5 seats.
The list of the planned maintenance and upgrades are the follwoing:
· Change oil sump gasket
· Paint the oil sump
· Fit new door skins front doors
· Fit the MX-5 seats
· Fix some minor play in the ball housing or the track rod ends on the steering rack
· The left door lock does not always work properly – need to check
· There is some annoying noise in the right door when running on bumpy roads – need to figure out what
· Re-fit the brake pipes to the remote servo fitted last year. The fit should be nicer J
· Fitting chrome brake and clutch support brackets – master cylinders
· Change OD-stick to LHD-stick
· Fix horn to be working from the steering-wheel. Now the horn is underneath the dash
· Change windscreen
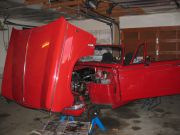
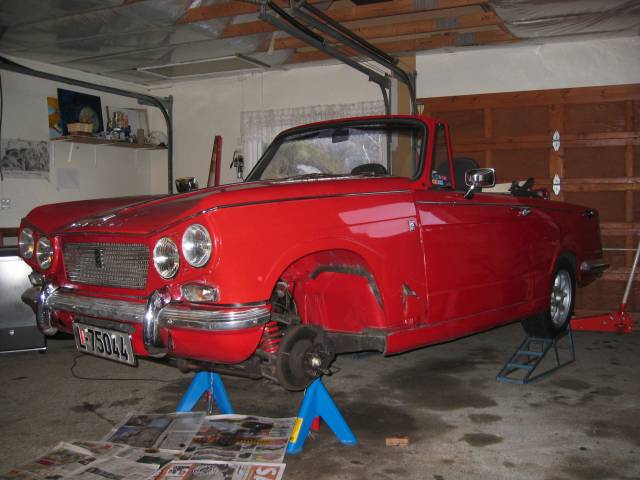
Here is the Vitessse lifted and ready for maintenance and upgrades.
Change oil sump gasket
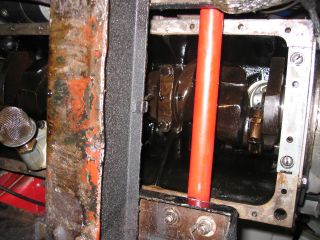
The oil sump can be disassembled with the engine still in the car. However, the engine must be liftet 1-2 cm (~1/2 inch). The best way is to lift it with a chain hoist,but I did not have access to this. I therefore lift it with a jack and a piece of wood toward the timing cover assy – see the first two pictures. It was basically only one bolt that needed the engine to be lifted – one bolt is placed just above the steering rack. As I felt that lifting the engine by the timing cover assy was a bit risky (!?) it was just lifted to remove this bolt, then it was set back in normal position when the other bolts were removed. I then lifted the engine once more to get sufficient clearance to remove the sump itself. That went very smooth when the engine was liftet 1-2 cm (~1/2 inch).
The sump was then washed and painted. When assembling it, one of the front bolts was not tightening very well. I discovered that the threads were all gone in the front sealing block on the engine – see drawing below. I could probably have made new threads, but for doing it properly I changed the entire unit – available at all Triumph-dealers.
|
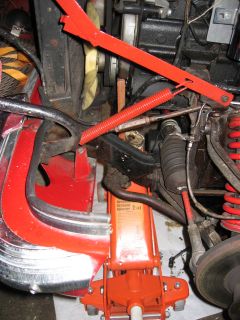
The jack and the piece of wood against the timing cover assy |
.... the piece of wood! |

Just 1-2 cm rise of the engine - quite easy! |
|
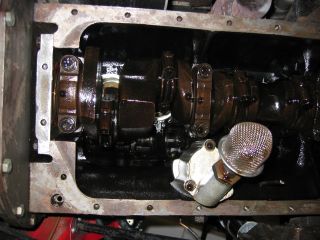
Picture in the block - from underneath |
|
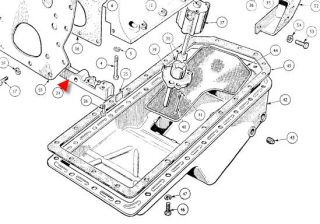
Front sealing block - item 24 |
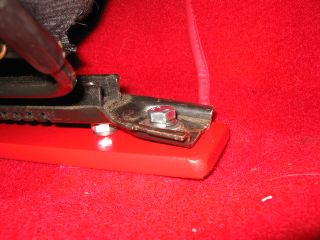
Fitting the MX-5 seats
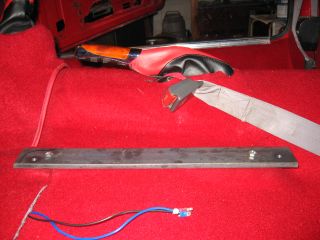
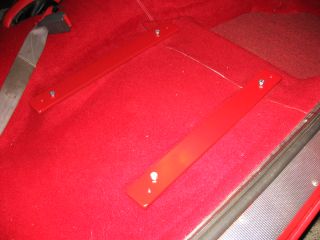
I've got hold of a couple of nice Mazda MX5 (US: Miata) seats. These seats fit quite well in a Vitesse or Herald. The seat runners have almost the same width as the Vitesse/Herald runners, but I will need to do some adjustments. 1 cm thick flat steal has been mounted on the floor mounting points. I've further drilled holes that fit the MX-5 mounting holes and then made 8mm threads. This worked very well and below is some pictures of these flat irons mounted. I will paint them and adjust a bit at the end to make soft corners etc. Here is a link to a fit to 13/60: http://www.osbertonvilla.org.uk/mx5_seats and further a tread on TSSC - see here. If the colour does not fit the interior Prestige Autotrim can deleiver Vinyl and leather trim for the MX-5/Miata seats.
|
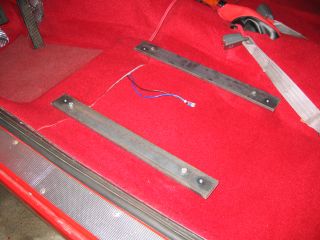
Flat iron fitted to support properly the MX-5 sats |
|
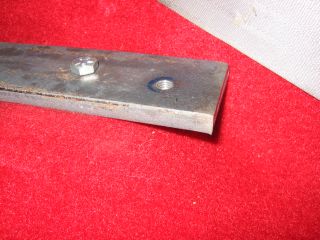
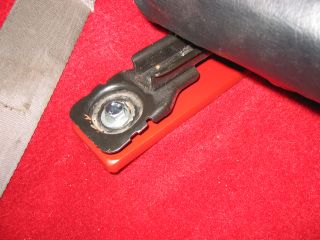
Details: Rear end with bolt to the original mounting points and the treads |
|
Flat iron painted red |
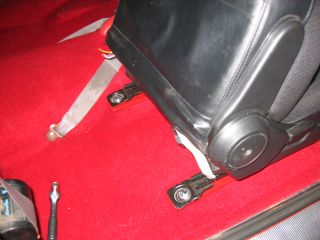
MX-5 seat, RH-side - rear, fitted to the flat iron |
Details: Rear-end fit to the flat iron |
|
Details: RH-side, front-end fit to the flat iron |
Details: Front-end fit to the flat iron |
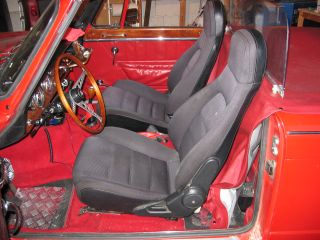
Temporary fit |
|
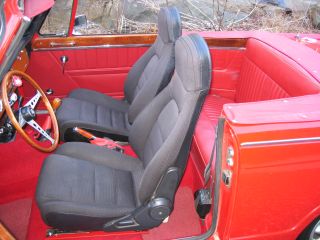
LH-side |
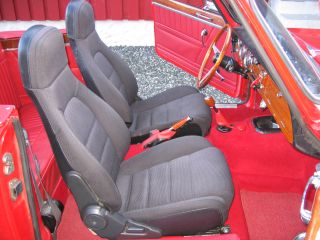
RH-side |

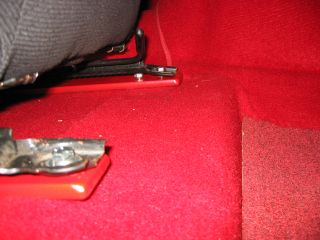
Good access to rear seat :-) |
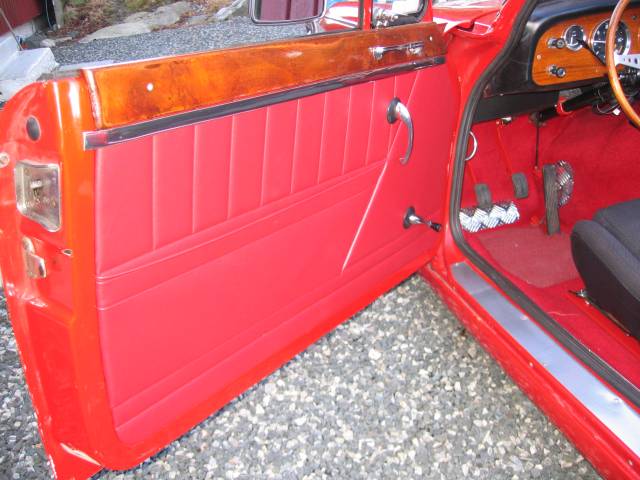
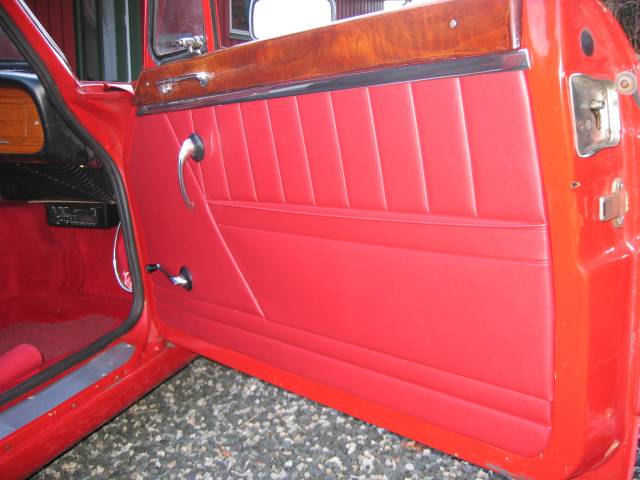
Fitting new door trim front doors
Door trim from Newton Commercials were fitted to the front doors. They fitted perfectly - no problems at all.
Fix some minor play in the steering rack tube end
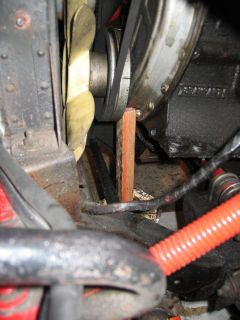
I thought the play was in the ball housing or the track rod ends; however it is some play in the tube end of the rack itself. I therefore needed to disassemble the entire steering rack and further take it apart to get access to the rack bush tube end, part no. 128002. I made a thread at Club Triumphs Forum to identify what I had to do. The rack was taken out of the car and dismantled. I followed carefully the workshop manual but also an article from TSSC’s The Courier 289, July 2004. The pictures below shows the rack busk tube end – the old one outside the rack, and the new when pushed into the tube. To get the old one out of the tube, I put a rod into the rack from the pinion housing/steering unit side and carefully knocked the bush out. This went very well, and the new one was easily slided/pushed into the tube. The tube, rack and pinion housing was carefully (heavily!) greased before assembling. All in all it was quite easy and straight forward. The result is no play at all.
|
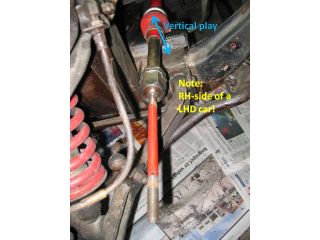
Vertical play within the tube of the steering rack |
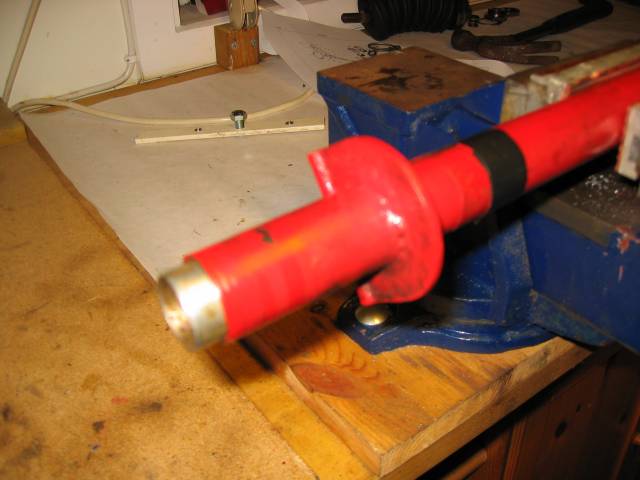
The bush when sliding/pushing into the tube |
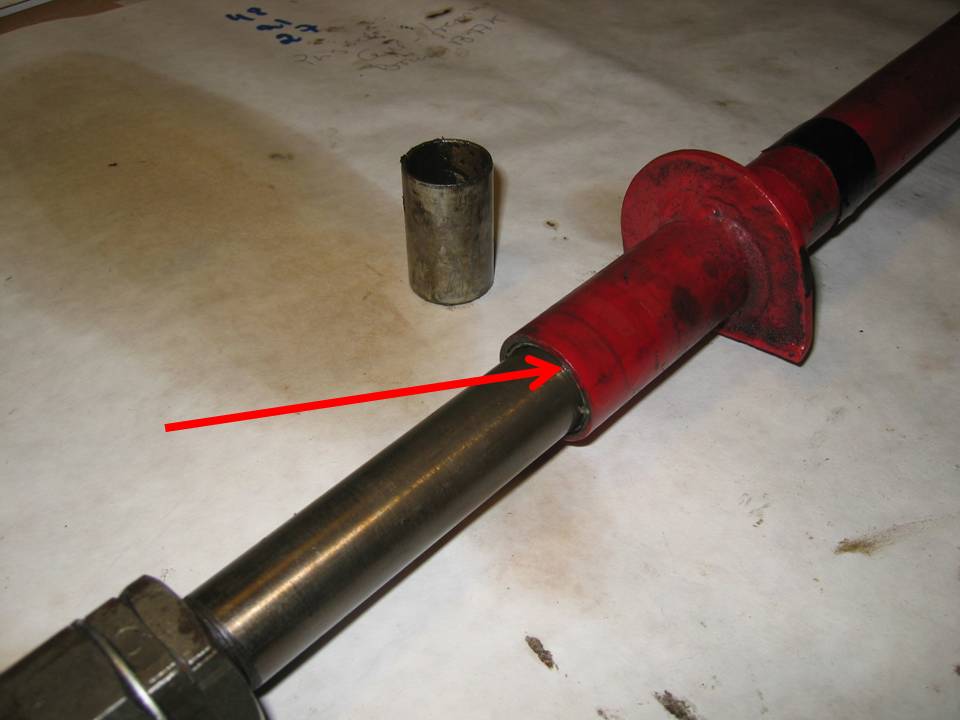
The arrow shows the location of the busk. The old one is shown next to the rack |
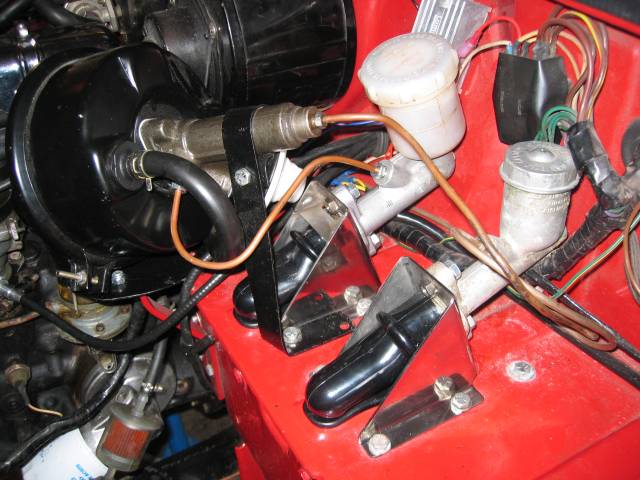
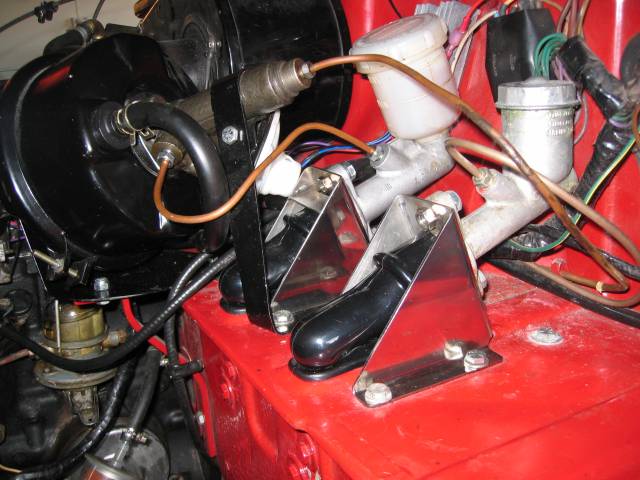
Re-fit the brake pipes to the remote brake servo
Fitting chrome brake and clutch support brackets
A new brake pipe was fitted from the remote brake servo to the master cylinder - just to get a nicer look. New gaiters were also fitted to the brake- and clutch master cylinders. I bought some chrome support brackets on eBay which fit perfectly.
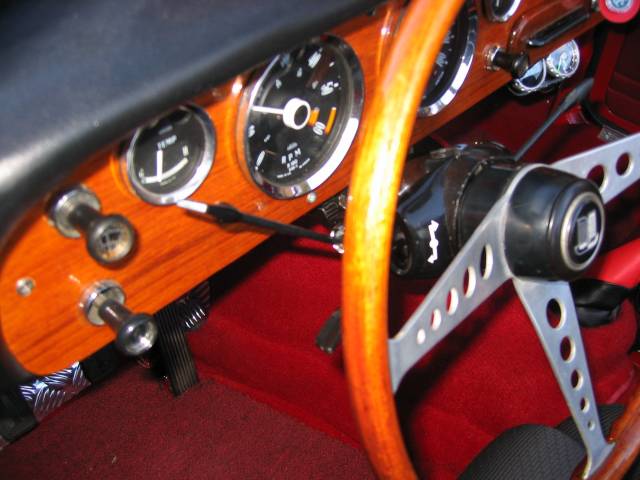
Change OD-stick to LHD
The OD-stick was changed from the previous RHD-stick to a proper LHD-stick. The RHD-stick worked perfect, but the reason to change this was that the RHD-stick was pointing quite much downward and was easy to touch with the knee and could easily break. The LHD OD-stick is now pointing upward in a proper manner.
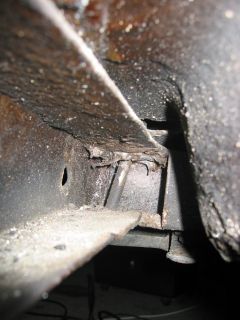
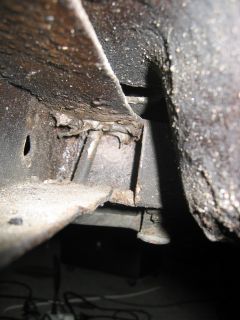
Front right-hand outrigger
There is some minor rust at the front outrigger on the right-hand side. This has been cleaned and treated with rust converter before covered by rust protection. Below is some pictures, and I do not regards this as serious. This has been incpected every year - and no changes have been observed.
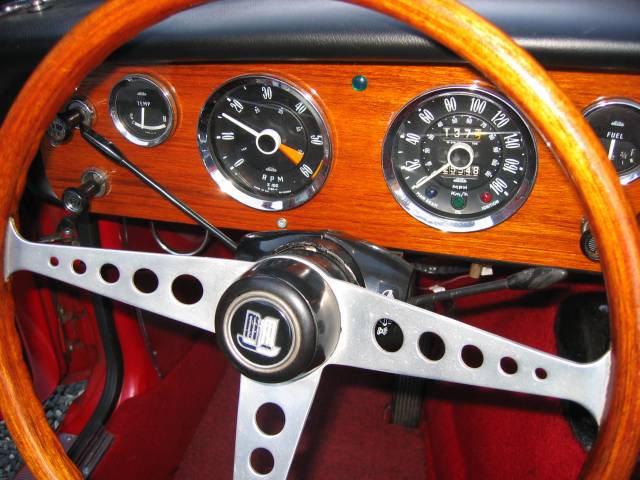
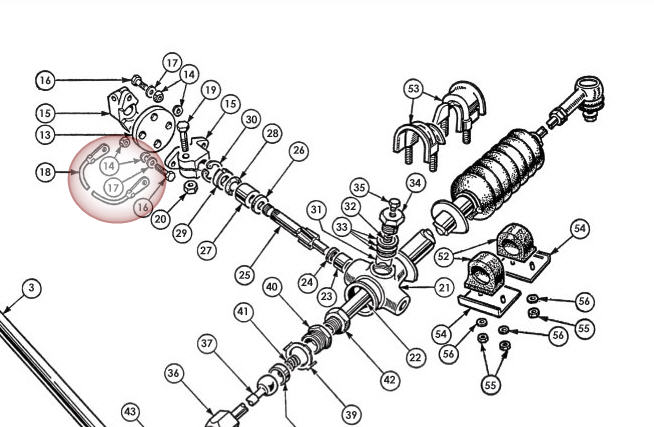
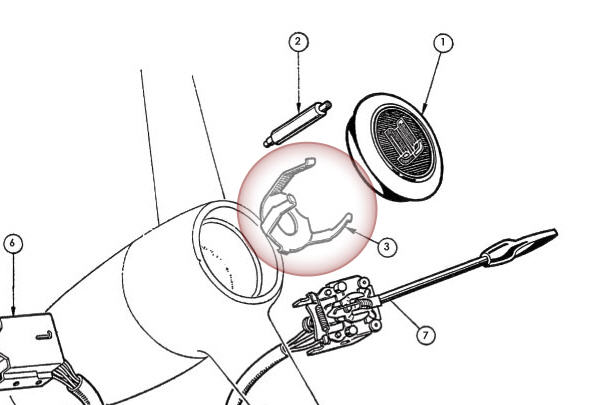
Fix horn to be working from the steering-wheel
The horn(s) have been working perfect all time, but was engaged from a button underneath the dash. After a bit hassle and trial-and-error I figure out that the reason was simply due to bad earthing. For the horn to be working there need to be earth-connection across the steering column joint, item 18 in the below left figure. This one was missing. Further there need to be proper earthing in the boss on the steering-wheel, item 3 in the below right figure – horn clip. This was also missing. When fitting these items the horn push was working very well.
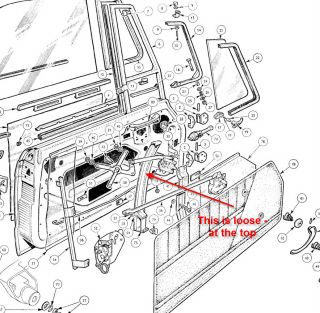
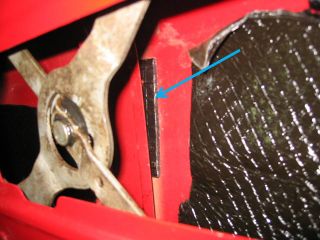
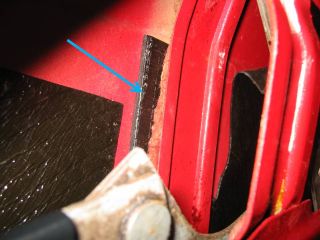
Noise/rattle in the RH door
There has always been some annoying noise/rattle in the right door when running on bumpy roads. When inspecting it for the "n'th time" I figured out that the stiffener assembly in the door was loose at the top. There are some clips, part no. 552447, which should be fitted at the top. However, these where quite difficult to fit properly so I just putted insulation pad in-between the stiffener assembly and the door skin. A temporary solution that seems to get rid of the noise/rattle.
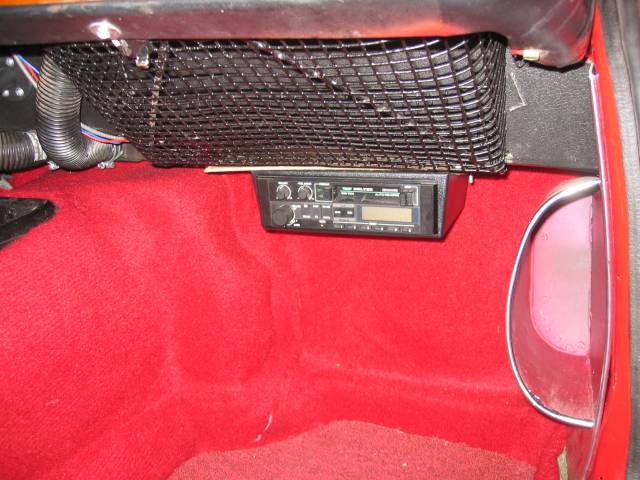
Installing stereo
As the Mazda MX5 seats have working speakers in the headrests I decided to mount an old stereo - just to test the performance, and how it is to have the speakers just "cm's" from the ears. The stereo was mounted underneath the bulkhead on the LH-side. Hence it was a bit out of sight :-). Chrome retractable aerial was mounted at the rear of the car as there was already a hole there. Looks good. The aerial can be fully retracted and locked/hidden to avoid any "vandalism".
|
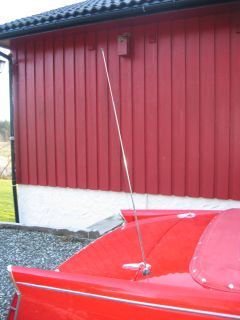
Chrome aerial - fully retractable |
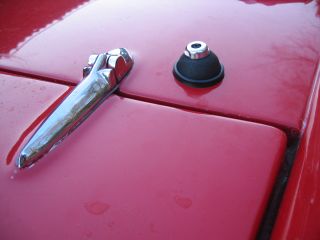
Aerial - retracted |
Aerial - the tube in the boot |
Various bits and pieces, minor issues
I addition to the above a number of small issues have been done:
· LH door lock/push button does not always work properly. When inspecting I figured out that there were some play in a couple of washers. I changed tease with washers with a smaller hole and it worked very fine
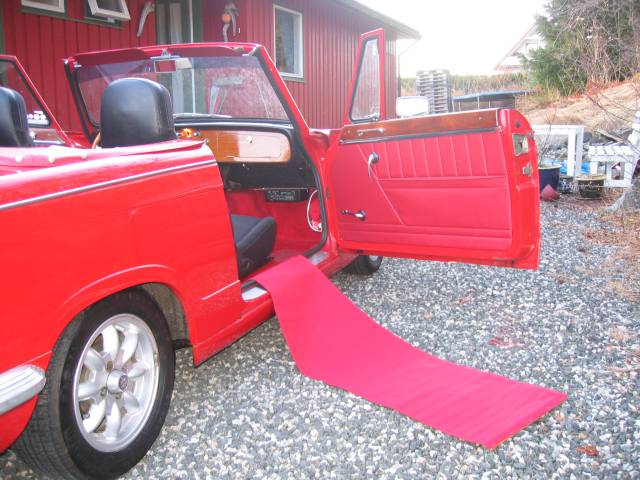
.... and red carpet for my favorite Ladies:-)
|